

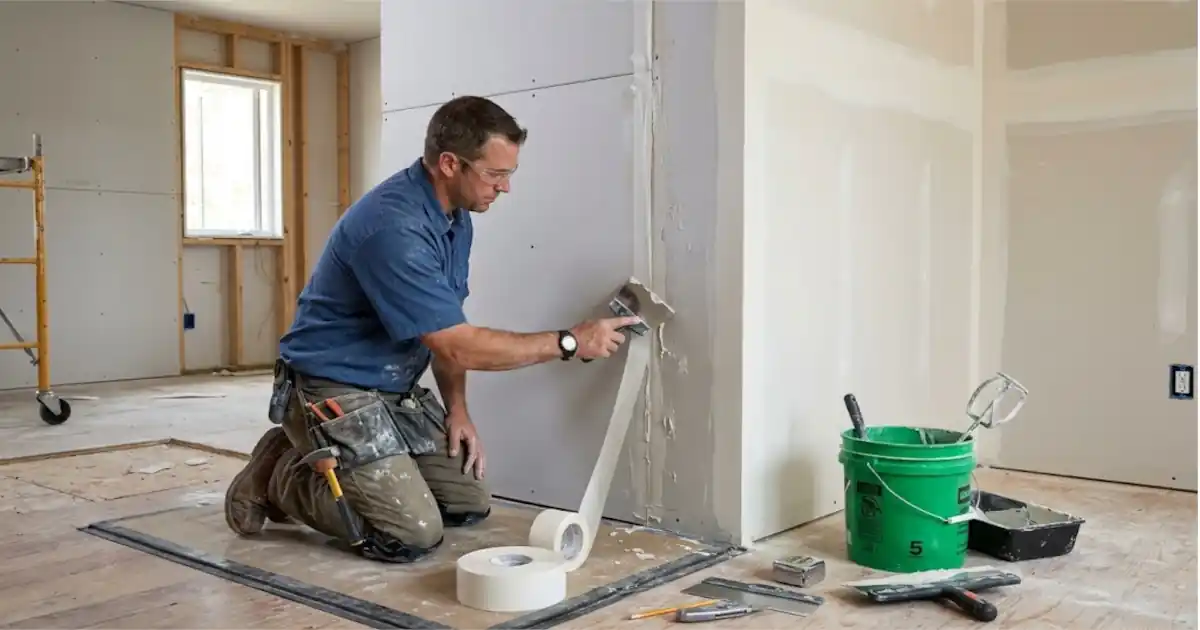
Every drywall job needs tape, and every homeowner dreads running out mid-project. A drywall tape calculator removes the guesswork from this step. It tells you how many feet of tape you need before you shop. This guide explains the math, the tools, and the common mistakes. You will also learn how to budget for compound and waste. Follow these steps and your next project will run smoother.
Why Accurate Tape Estimates Matter
Tape holds your drywall joints together. It also prevents cracks from forming along seams. A wrong estimate costs you time and money. Too little tape sends you back to the store with wet compound drying on the wall. Too much tape leaves you with unused rolls that eat into your budget.
The Cost of Guessing
Contractors waste thousands of dollars each year on poor material estimates. Homeowners make the same mistake on a smaller scale. A single extra trip to the store costs an hour and fuel. Rolls also differ in length and price, so overbuying adds up quickly. Good planning protects your schedule and your wallet.
How Tape Protects Your Walls
Tape bridges the gap between two drywall sheets. Joint compound bonds the tape to the board. Together they create a smooth, strong seam. Without tape, seams crack as the house settles and temperatures change. Tape also keeps corners crisp and straight. Skipping it invites repair work within a year.
How a Drywall Tape Calculator Works
A calculator turns your room measurements into a material list. It first finds the total surface area you plan to cover. Then it estimates how many sheets that area requires. Finally, it converts sheets into linear feet of tape. Most tools also add a waste margin automatically. You enter the numbers, and the tool does the rest.
Inputs You Need
Gather a few measurements before you start. Measure the length and height of every wall. Measure the ceiling if you plan to hang board there. Subtract large openings like windows and doors. Note the number of inside corners and outside corners. Write each figure down so you can reuse it later.
Outputs You Receive
A good calculator returns several useful numbers. You get the total sheet count for your room. and linear feet of tape for flat joints. You often see extra tape for corners listed separately. Some tools also estimate compound quantity and screw counts. These extra figures help you build one complete shopping list.
Calculate Drywall Tape by Hand
You can estimate tape without any software. The manual method needs only a tape measure and a pencil. It also helps you check the numbers any online tool gives you. Understanding the math makes you a smarter buyer.
Step 1: Find Your Total Area
Multiply each wall’s length by its height. Add the results together for all walls. Add the ceiling area if you are covering it. Subtract the area of windows and doors. The final number is your square footage. For example, a 12-by-10-foot room with 8-foot walls has 352 square feet of wall.
Step 2: Convert Area to Sheets
A standard drywall sheet measures four feet by eight feet. That equals 32 square feet per sheet. Divide your total area by 32. Round the answer up to the next whole number. Your 352 square feet needs 12 sheets. Always round up, because partial sheets still need full seams.
Step 3: Convert Sheets to Tape
Contractors use a simple rule of thumb. Plan on roughly 12 feet of tape per sheet. Multiply your sheet count by 12. Twelve sheets need about 144 feet of tape. Add 10 percent for waste, cuts, and mistakes. That brings your total to about 160 feet. A single 250-foot roll covers this job easily.
Step 4: Add Corners
Corners need their own tape. Measure the height of each inside corner. Add those lengths to your total. Outside corners usually need metal or paper-faced bead instead. Count them separately. Many beginners forget this step and run short.
Choosing the Right Tape Type
Tape comes in two main styles. Each style suits different skills and situations. Pick the one that matches your project and experience level.
Paper Tape
Paper tape is the professional favorite. It creases cleanly for inside corners. It also creates very strong joints when embedded properly. You must apply a bed coat of compound first. The tape then sits in that wet layer. Paper tape takes practice, but it rewards you with durable seams.
Mesh Tape
Mesh tape has a sticky back. You press it straight onto the board. It saves time for beginners and small repairs. However, it is weaker than paper at corners. It also needs setting-type compound for best results. Mesh rolls are bulkier, so check their length before you buy.
Roll Lengths and Pricing
Paper tape typically comes in 75-foot, 250-foot, and 500-foot rolls. Mesh tape often comes in 90-foot, 300-foot, and 500-foot rolls. Bigger rolls cost less per foot. Choose the smallest roll that covers your total plus waste. Large jobs benefit from a single big roll.
Budget for Joint Compound Too
Tape is only one part of the finish. Compound covers the tape and hides the screws. You need several coats for a professional result. Plan for roughly one gallon of ready-mixed compound per 100 square feet. Your 352-square-foot room needs about four gallons. Buy a five-gallon bucket to cover waste and touch-ups.
Other Supplies to Include
Gather the rest of your materials in one trip. You need drywall screws, sandpaper, and a mud pan. You need a six-inch and a ten-inch taping knife. A sanding sponge helps with tight corners. A dust mask protects your lungs during sanding. Add these items to your list before you leave home.
Pick the Best Online Tool
Many websites offer free estimators. Not all of them give reliable results. Choose a drywall tape calculator that lets you enter wall dimensions and openings. Look for a tool that accounts for waste and corners. Avoid tools that only ask for room square footage. They ignore your layout and often miscount the seams.
Features Worth Having
The best tools share a few traits. They let you add multiple rooms at once. They show results in feet and in rolls. Explain the formulas behind each number. Some save your project so you can return later. Mobile-friendly design also helps when you stand in the hardware aisle.
Common Mistakes to Avoid
Even a careful estimate can fail. A few predictable errors cause most shortages. Watch for these problems before you buy.
Forgetting Waste
Every project creates scrap. You will cut tape at odd angles. You will tear pieces and ruin others. Always add at least 10 percent. Add 15 percent if you are a beginner. That small buffer prevents most emergencies.
Ignoring Ceiling Seams
Ceilings carry long, unforgiving seams. Many people measure only the walls. They then run short when they reach the ceiling. Include every surface you plan to finish. Ceiling joints also need extra care because gravity works against wet compound.
Trusting One Number Blindly
Every calculator uses assumptions. Rooms with odd angles or many openings can break those assumptions. Run the numbers twice using two methods. Compare the manual result with your drywall tape calculator output. A large gap signals a measuring error. Fix it before you spend any money.
Tips for Applying Tape Like a Pro
Good estimates mean little without good technique. Follow these habits for cleaner seams.
Prepare the Surface
Check that every screw sits slightly below the board surface. Remove loose paper and ragged edges. Wipe away dust so compound can grip. A clean, flat surface produces a flat, clean finish. Take five minutes here to save hours of sanding.
Embed and Smooth
Spread a thin layer of compound over the joint. Press the tape into the wet compound. Draw your knife along the tape to squeeze out excess mud. Leave a thin layer behind the tape for adhesion. Then let the coat dry fully before you continue. Rushing this step causes bubbles and blisters.
Build Thin Coats
Apply two or three thin coats instead of one thick coat. Feather each coat wider than the last. Sand lightly between coats. Thin layers dry faster and crack less. They also hide the seam better under paint.
Frequently Asked Questions
How much tape does a 12-by-12 room need?
A typical 12-by-12-foot room with 8-foot walls needs about 13 sheets of board. That translates to roughly 156 feet of tape. Add 10 percent for waste, and you reach about 172 feet. One 250-foot roll covers it comfortably.
Can I reuse leftover tape?
You can store unopened rolls for future repairs. Keep them dry and away from heat. Paper tape absorbs moisture and becomes hard to use. Mesh tape stores more easily. Sealed rolls last for years.
Do I need tape for every joint?
Yes, you need tape for every seam between sheets. Screw heads only need compound. Corners need tape or bead. Tapered edges need the most attention because they form the main joints.
Final Thoughts
Accurate estimates save time, money, and frustration. Measure your walls carefully and subtract openings. Convert area to sheets, then sheets to tape, and always add waste. Use a trustworthy drywall tape calculator to confirm your math. Pair your tape with the right compound and tools. Then tackle your project with confidence and finish it in fewer trips.
READ ALSO: Decoradhouse Garden Tips by Decoratoradvice: Your Complete Guide to a Beautiful Garden







Leave a Reply